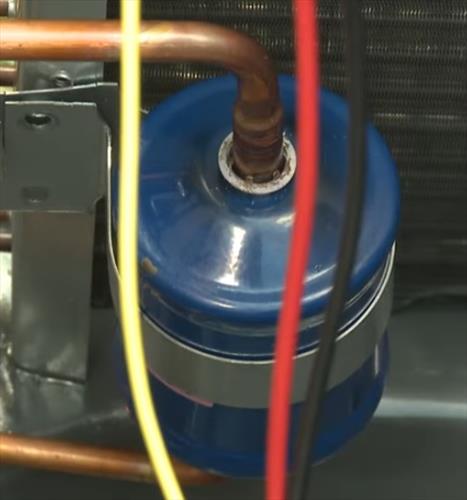
Replacing an HVAC filter drier is a common job when installing new components such as a new A-coil.
A filter drier is a simple device, but the correct steps must be done during an installation.
Mainly care needs to be taken not to damage the valves on the condenser, which can become damaged from heat when soldering in a new drier.
When brazing torches are used for soldering in place the new component, the heat can damage the valves.
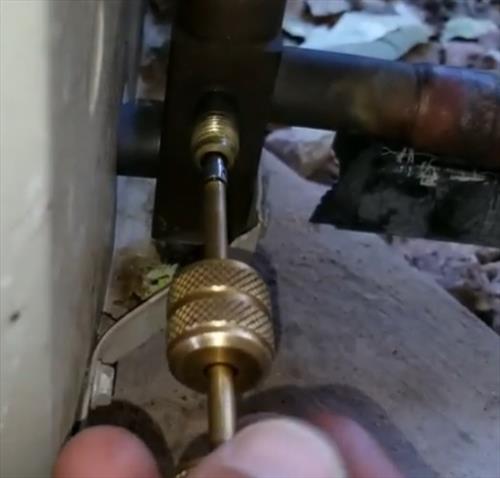
The Schrader valves will need to be removed since they have a rubber gasket that can become damaged from the heat.
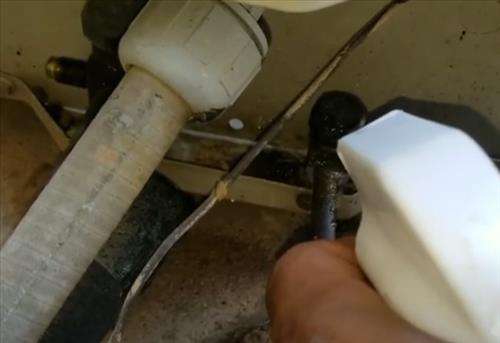
After removing the Schrader valves, many HVAC techs will spray heat-absorbing protection on the valve casing to help dissipate heat.
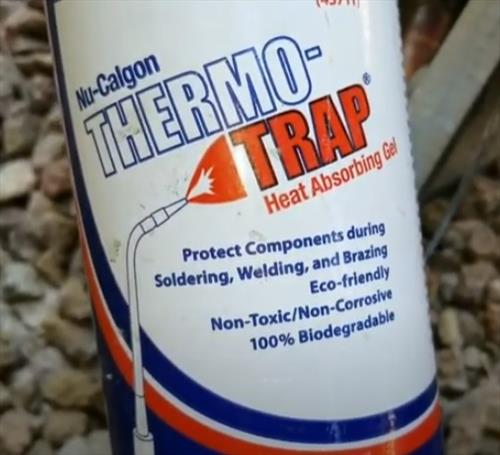
Likewise, some techs will wrap the valve casing with a wet rag.
The goal will be to protect the valve from heat. Also, the faster you can solder in the drier, the better.
What is an HVAC Filter Drier?
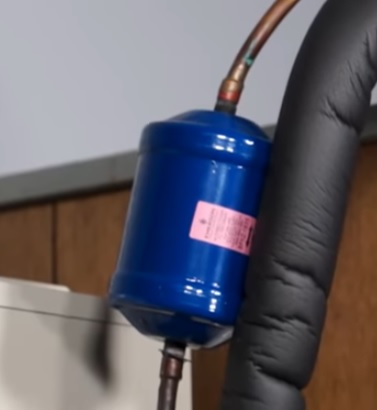
A filter drier main purpose is to absorb moisture, remove particles, prevent acids from the refrigerant.
The drier is placed on the high-pressure line between the evaporator and the condenser.
A new filter drier should be installed any time the system has been opened.
Most filter driers are placed outside near the condenser but can also be near the evaporator.
Types of HVAC Filter Drier’s
There are differently sized to match the size f the HVAC system.
If you are installing a new condensing unit, they usually will come with the correct drier to install.
There is also a standard A/C only filter drier and a heat pump reversible drier.
A standard A/C unit will have a drier that flows in one direction.
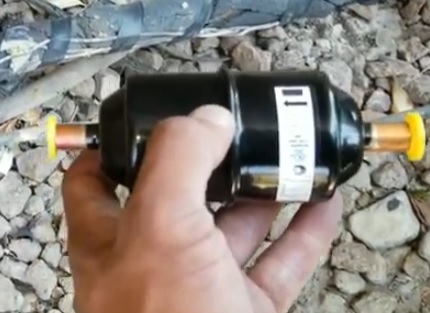
This type of drier will have the arrow pointed away from the condensing unit and pointed toward the evaporator in the home.
A heat pump reversible drier will have the arrow pointing in both directions.
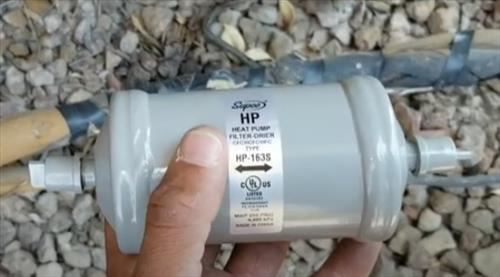
No refrigerant should be in the line-set when installing a filter drier. The system should be pumped down, or the refrigerant has been recovered.
How To Replace an HVAC Filter Drier on a Condenser
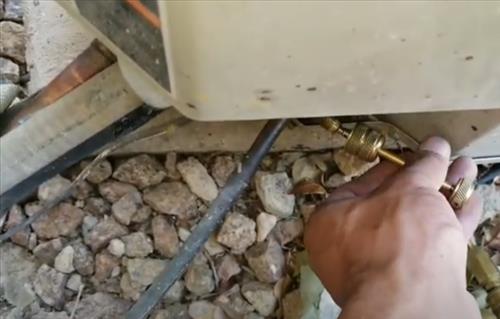
- Remove the Schrader Valve on the high-side of the condensing unit.
- Remove the Schrader Valve on the low-side of the condensing unit.
- Spray heat absorbing protection on the valves or otherwise.
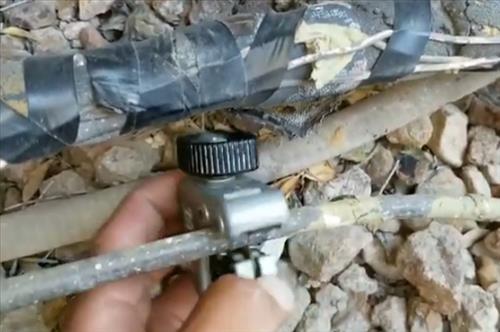
- Remove the old filter drier or cut an opening on the low pressure line if there isn’t one.
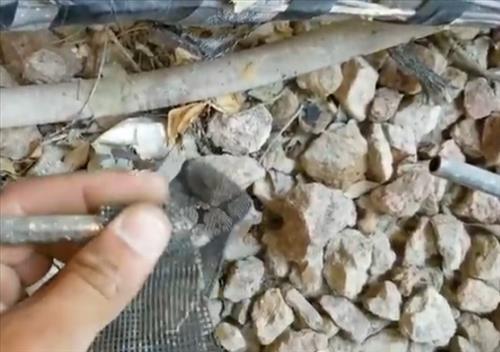
- Clean the tips of both cut ends to get a good soldering connection.
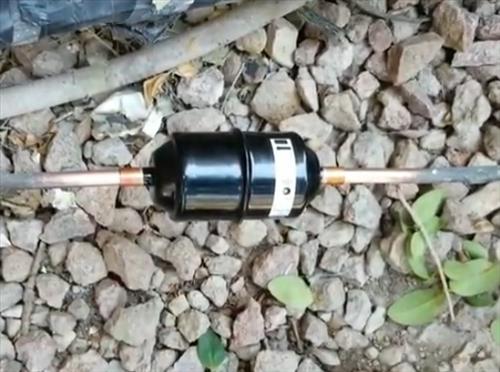
- Place the new drier in place.
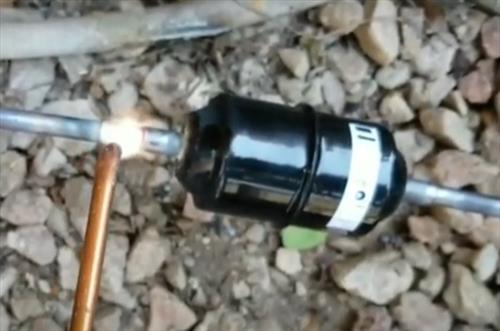
- Using a torch, braze the connections.
- Once the lines cool down, reinstall the Schrader Valves.
Summary
Installing a new filter drier is not difficult as long as the proper procedures are followed.
The drier can be located anywhere between the condenser and evaporator but usually near the condenser.
When replacing it near the condenser, care must be taken not to damage the valves.
Removing the valve cores and using a heat-resistant spray on the casing is a good way to prevent damage.
When installing an A/C-only unit, the drier will have one arrow that is pointed away from the condenser toward the evaporator.
Have you installed an HVAC drier on a condenser? Let us know your thoughts below.
Does the filter dryer have anything to do with having extra moisture in my home?
Thanks for such a good article. My dryer is not leaking, but it is very rusted in the AC unit is 10 years old. Should it be replaced or should I just wait until it fails? Thank you.