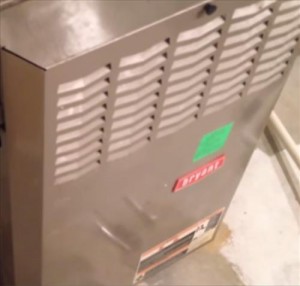
Has air stopped blowing out your vents for heat or cooling? Do you use a furnace instead of a Heat Pump for heating a home during the Winter? Confused on what system you have? Not to worry it is simpler then you think.
If you know that you have a furnace skip below for how to replace the blower motor.
What type of HVAC system do you have?
What type of HVAC system you have all comes down to how a home is heated. The two main ways are a furnace or a heat pump. If you have a big furnace located in your home that heats everything during the winter then you don’t have a heat pump.
During the summer a air conditioner is used outside to push heat away from the unit as it pulls heat out from a home. If a heat pump is used it works the same as a air conditioner only in reverse during the winter. So a heat pump will heat a home during the winter by pulling cold air from a home then blowing it away outside.
A furnace simply heats the air inside a home and the air is circulated through the vents back to the unit over and over again.
So you can see it is simple to know whether you have a heat pump or a furnace. If you have a heat pump the blower motor will be in the unit outside.
A furnace blower motor is located in the furnace. More then likely this motor works to blow both cold and hot air.
Most of you probably already knew this which is great, so how do you replace a furnace blower motor?
For how to buy furnace blower motor parts for HVAC click here.
Replacing the Blower Motor
Keep in mind that the blower motor will be placed differently for different manufactures and models, but the basics here will still apply to each.
First you need to locate the furnace and take the panels off and locate the blower motor. Before any work is done to a motor or any components be sure to turn off the power to the furnace or unplug it.
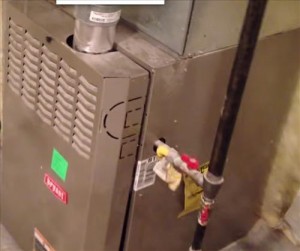
The motor should be easy to locate as it will be the only motor in the furnace. Also find were the RUN Capacitor is since this will also have to be changed at the same time as the motor. A bad or failing capacitor can damage a new motor so it must be changed any time a new motor is installed.
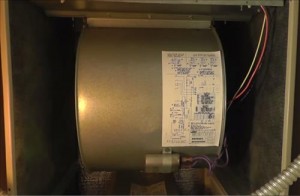
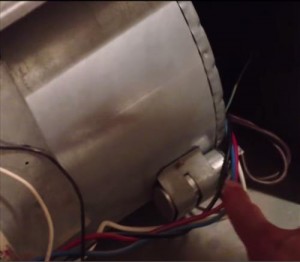
Before anything is removed or any work done take pictures and write down all the wiring and connections. Trust me on this be sure to take good pictures to refer back to later if need be. If something is wired wrong the motor may burn up or at the very least not work. Having pictures to look back at can be invaluable when reconnecting everything.
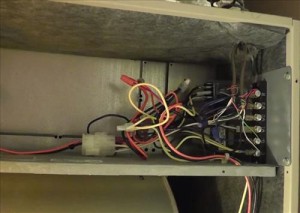
Once you have a bunch of good pictures of the wiring, the wires can be unplugged and removed.
The motor will be inside of a sheet metal case making it necessary to remove the entire assembly. Screws holding it in are usually located in the front with a notch in the back it can slide out of.
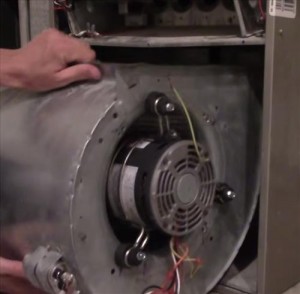
Once the entire assembly is taken out the bolts holding it in place need to be removed. One bolt will hold onto the shaft to turn the fan. To remove it loosen it up so that the shaft can pull out from the fan blades. It is a good idea to oil up the end of the shaft so it pulls out easier as some can be a pain. If there is any rust or build up on the shaft use sandpaper to remove it then oil it. Otherwise pulling a motor from the fan blades can be a real hassle.
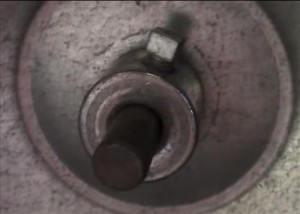
Next the bolts holding the back of the blower motor should be removed. And the motor pulled from the fan blades. (On a side note it is a good idea to clean the fan blades when the assembly is out. Debris build up on fan blades make them work less efficiently cleaning then is always a good idea. If the fan blades are really dirty I take them to a car wash and after spraying them with degreaser and power wash them.)
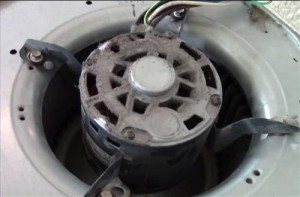
At this point you can now install the new motor and capacitor.
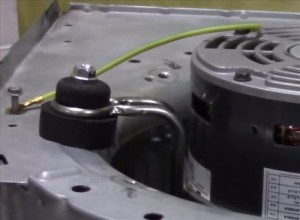
The motor will have a bracket that goes around it and bolts to the housing, this should be taken off the old motor and put on the new one. In some cases the bracket can be damaged if it has been damaged a new one can be bought.
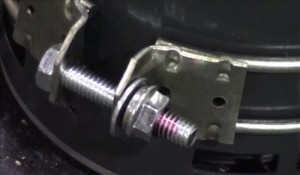
Once the ring has been place on the new motor the shaft can be slide back into the fan blades, and bolted into place. When bolting the fan blades in they will need to be centered so the blades spin freely in the housing.
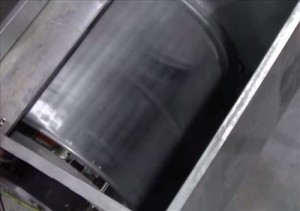
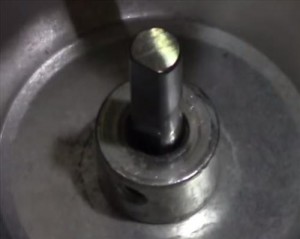
Before tightening the bolt on the shaft be sure it is centered correctly since there is a flat spot on the shaft that is where the bolt screws into holding it in place.
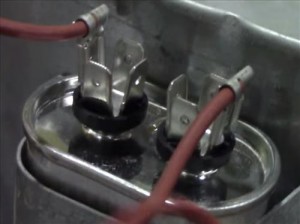
Install the new capacitor and connect the correct wires from the motor.
Double check everything is connected and the fan blades are spinning correctly then it will be time to reinstall the assembly back into the furnace.
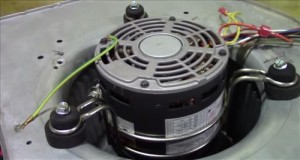
Installing will simply be the reverse of taking it out. The hardest part is often getting it to slide in correctly into the metal tabs.
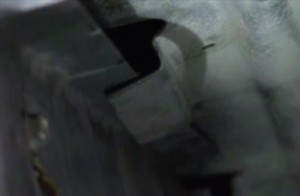
After getting it back into place tighten it in with the holding screws.
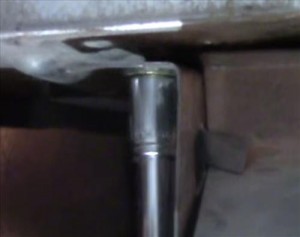
After getting the assembly back in double check the fan blades again for proper spin. You don’t want to damage anything when power is applied and they spin fast.
Once the assembly is back into place the wiring can be reconnected. This is where the pictures you took earlier come into play.
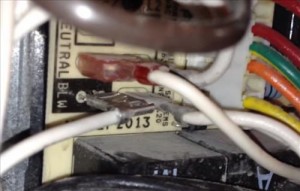
Color codes can change so be sure to refer to your pictures or furnace schematics.
Turn the power back on. I always like to triple check everything before turning the power back on. (One of the things I do when powering up a unit is to keep my hand close to the power switch so I can shut it off quickly if there is something wrong.)
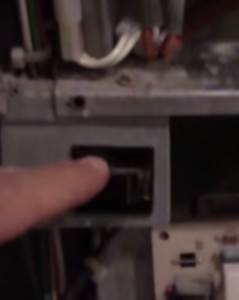
That is it, everything should be done and working. Once the power is back on and the thermostat set the furnace should kick on and blower motor begin to spin.
If you need more help here is a video that does a good job explaining things.
Maybe the article should have been how to lubricate a blower motor because normally the motor outlasts the rest of the furnace if only the owner takes it out every few years, cleans out the squirrel cage while they’re at it, and lubricates the bearings on both ends.
Also the article is incorrect considering the year written. It is not the only motor in the furnace, typically right there in front when you open one, you’ll have the exhast motor, serves as air intake and exhaust for the combustion/heat exchanger. Those typically wear out before the main duct circulating blower does, but both will last the entire life of the furnace if they are relubricated as needed.
Don’t let some clueless tech tell you they are sealed for life and can’t be lubricated. That only means the tech doesn’t know what they are doing, was only trained or at least only interested in doing the more expensive and more profitable for them, repair. Some might make nonsense statements like “not guaranteed to last long” if relubricate but that is just false information.
If the motor makes bearing noise it has been the prescribed remedy for over 50 years and is a normal thing to do in motors outside of areas where a lay person has a disconnect from servicing and it’s a whole industry meant to extract as much money as possible.
Replacing a motor that only needs relubricated is about as intelligent as buying a new car, deciding never to change the engine oil, then sending it to a junkyard crusher at 50K miles old instead of just changing the oil when you should have.
The yellow is another speed. Hook the brown wire on one side of the capacitor and brown-with-white-stripe to the other side of the capacitor, then run a jumper (white) from the brown-with-white-stripe to common. This is easy as the capacitor has 4 connector points at each pole. That will feed the common to the motor and complete the loop. It is always good to take pictures of all the connections before disassembling for future reference when you forget how the original motor was connected. For my jumper I just used half of a white lamp cord I had laying around and put female 22-16 disconnect tabs on either end.
My blower doesn’t have a white wire. It has yellow. Same thing?